How to start
In this guide you build a small options page for a website: a menu Theme settings with a page General, and two fields on it, a company name and a logo. Then you fill them in and show them on your website. It takes about five minutes.
You need the plugin installed and activated (see Installation), and an account with the Administrator role.
1. Create a menu
Go to Options Pages → Add new. The editor opens with one empty page.
The bar at the top is about the menu itself:
- Keep Custom menu selected. Your pages get a menu of their own in the admin sidebar.
- Click Icon and choose an icon, for example the paintbrush.
- Type
Theme settingsin Title: the name of the menu in the sidebar. - Type a number from 1 to 150 in Position: where the menu appears in the sidebar.
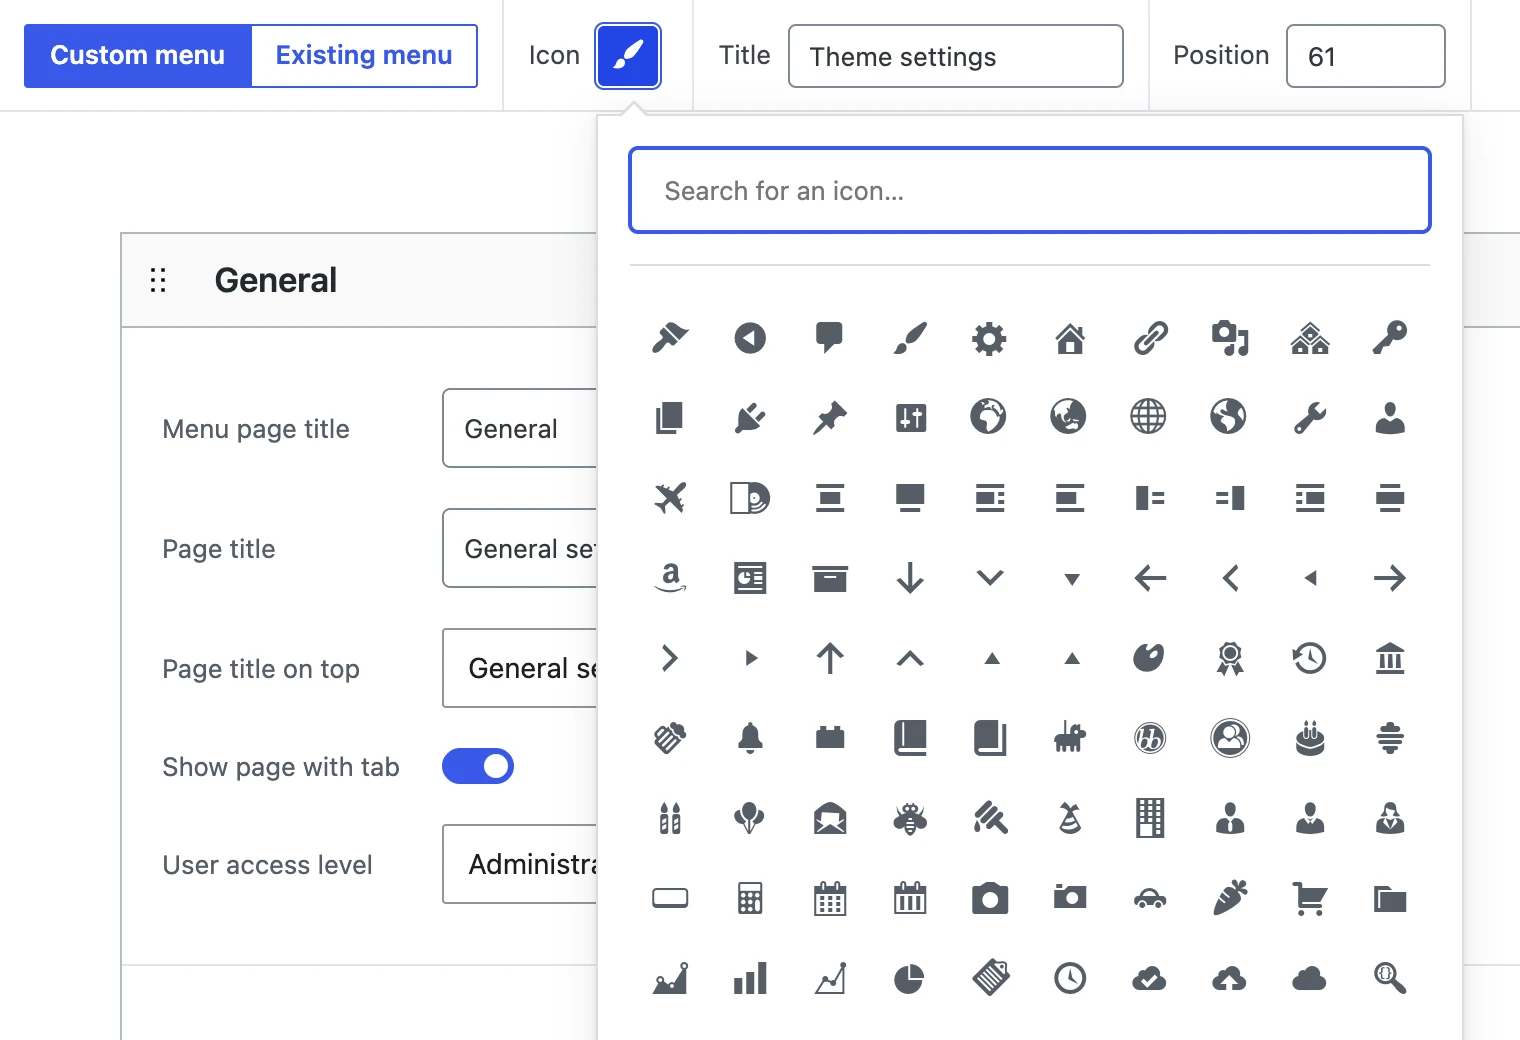
Would you rather add the page to a menu that is already there, like Settings or Appearance? Choose Existing menu and pick the menu in Title.
2. Set up the page
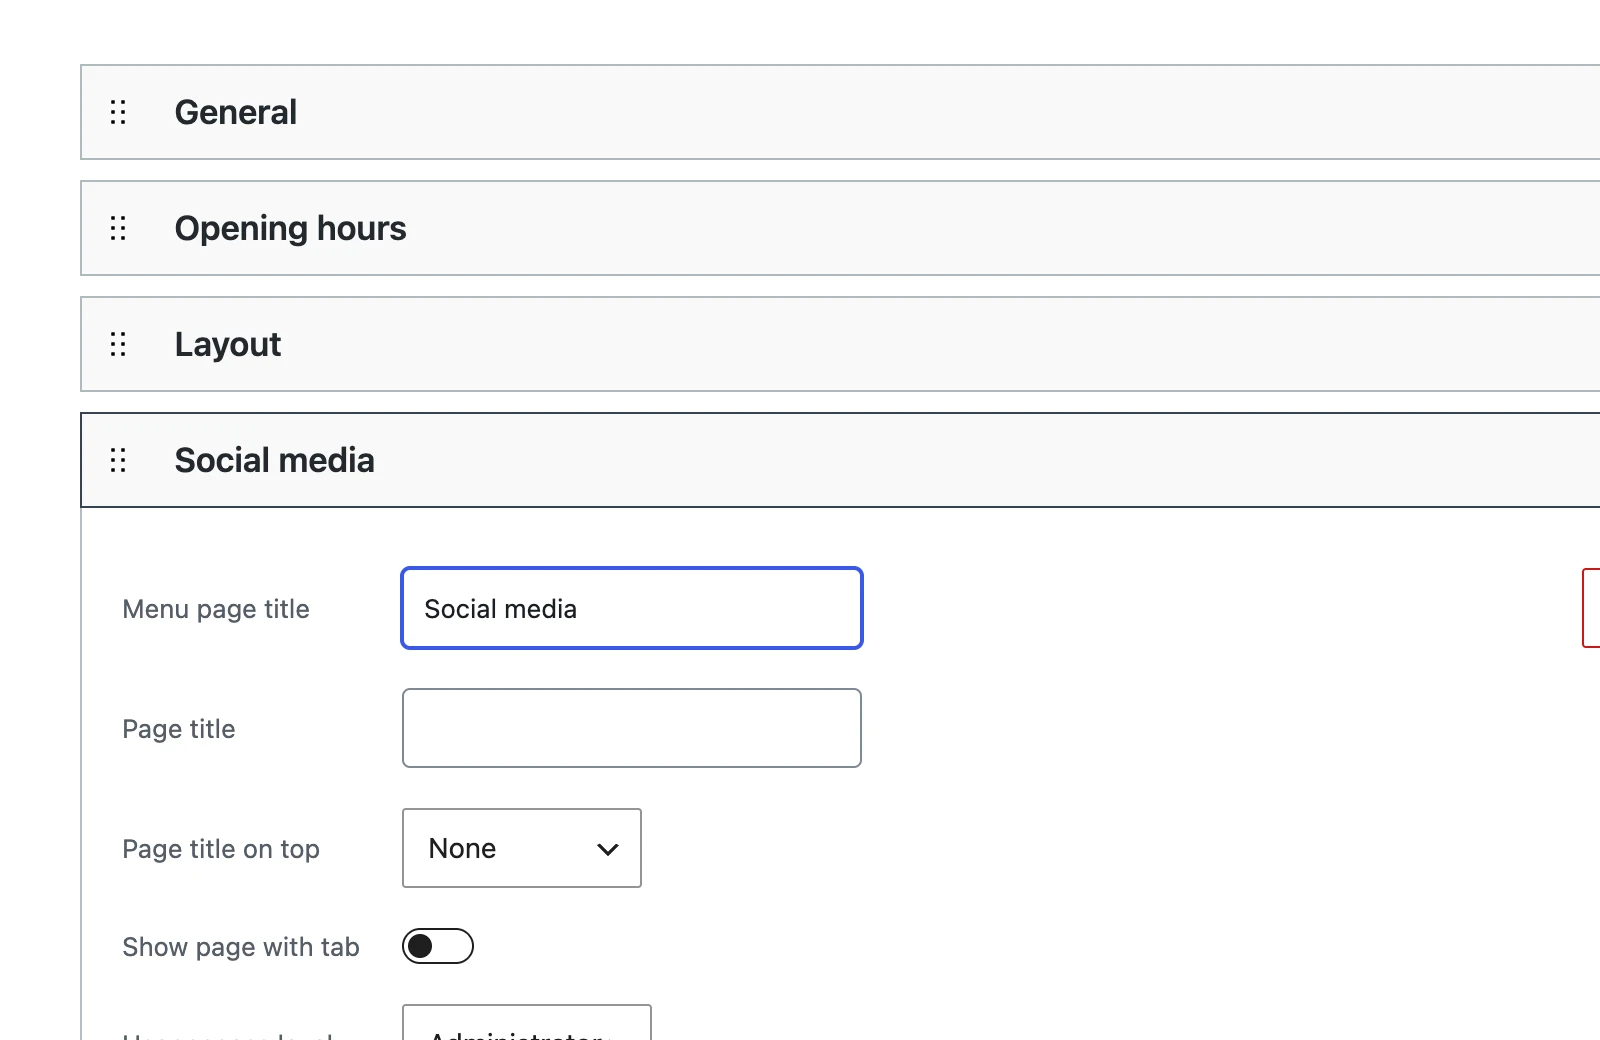
Below the bar is the card of the first page. Fill in:
| Setting | Type | What it does |
|---|---|---|
| Menu page title | General |
The name of the page in the menu. |
| Page title | General settings |
The title at the top of the page. |
Leave the other settings as they are for now. User access level decides who can use the page: Administrator, or also Editor. Need more pages? Add New Page adds one; with Show page with tab on, every page of the menu is shown with tabs at the top, to switch between the pages.
3. Add two fields
Click the + button at the bottom of the page and choose Text field. A field card opens.
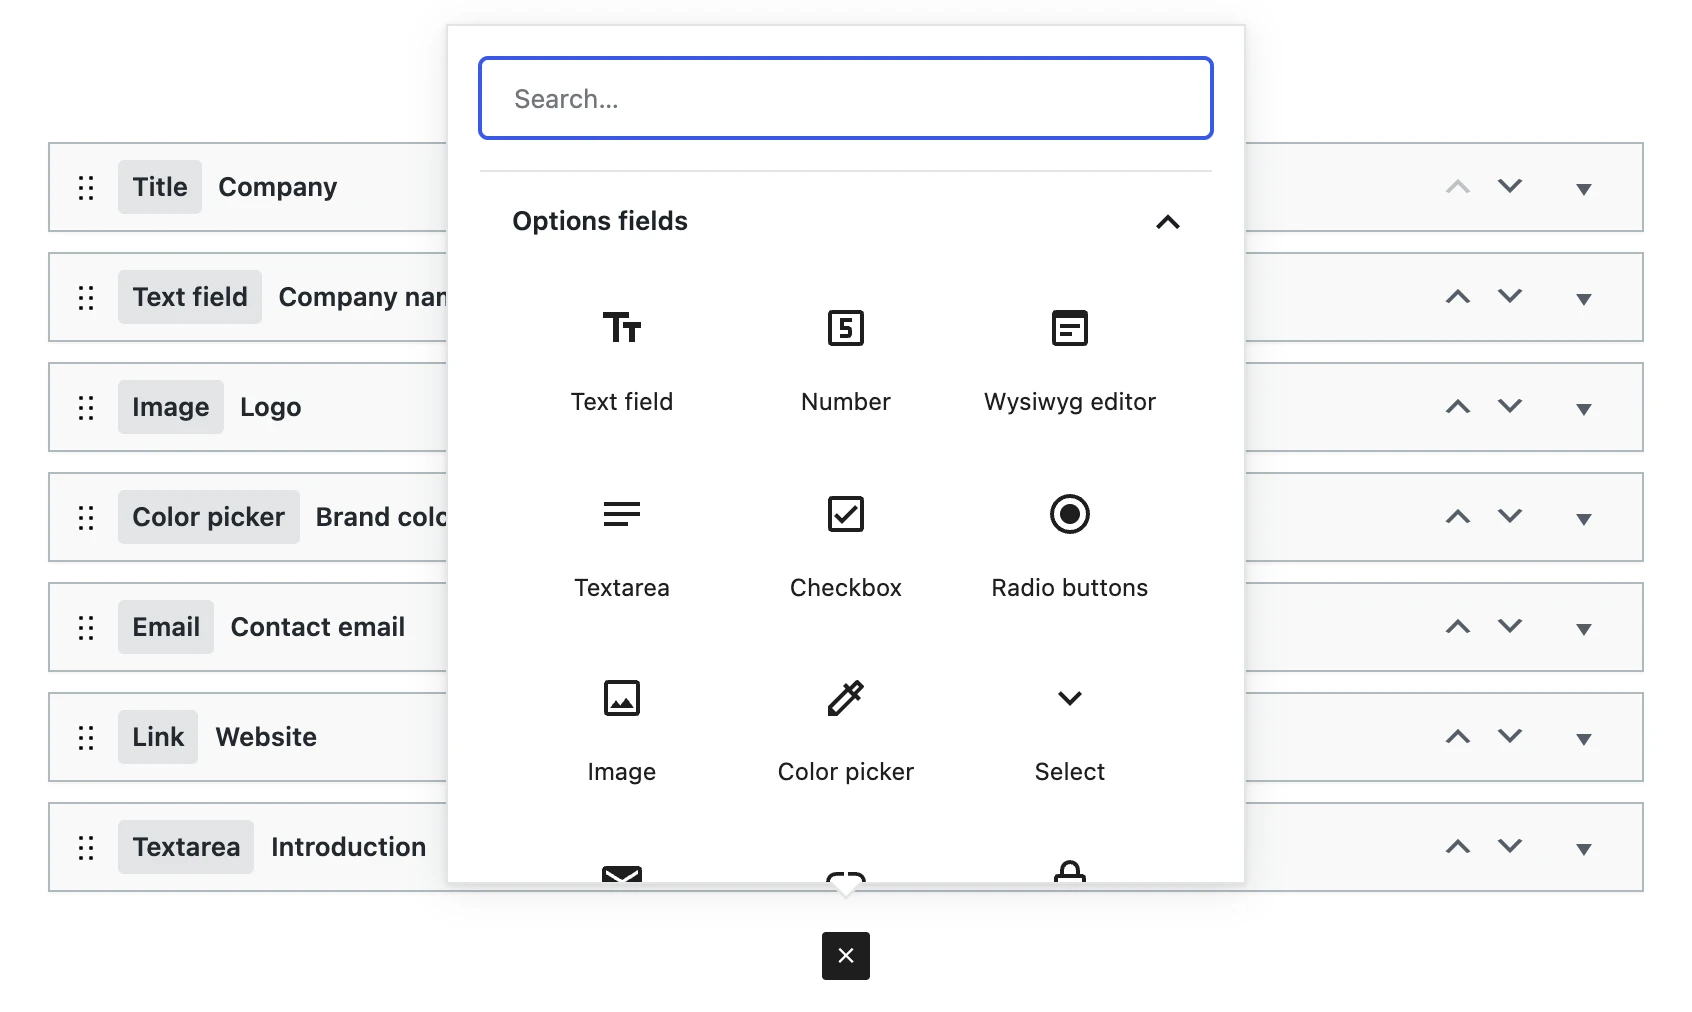
Fill in:
- Field label:
Company name. This is the label on the options page. - Field name:
company_name. This is the name of the WordPress option the value is stored in, and the name you use later to show it. Lowercase letters, numbers and underscores.
Click + again and choose Image. Fill in Field label Logo and Field name company_logo, and check .png and .svg under Allowed extensions.
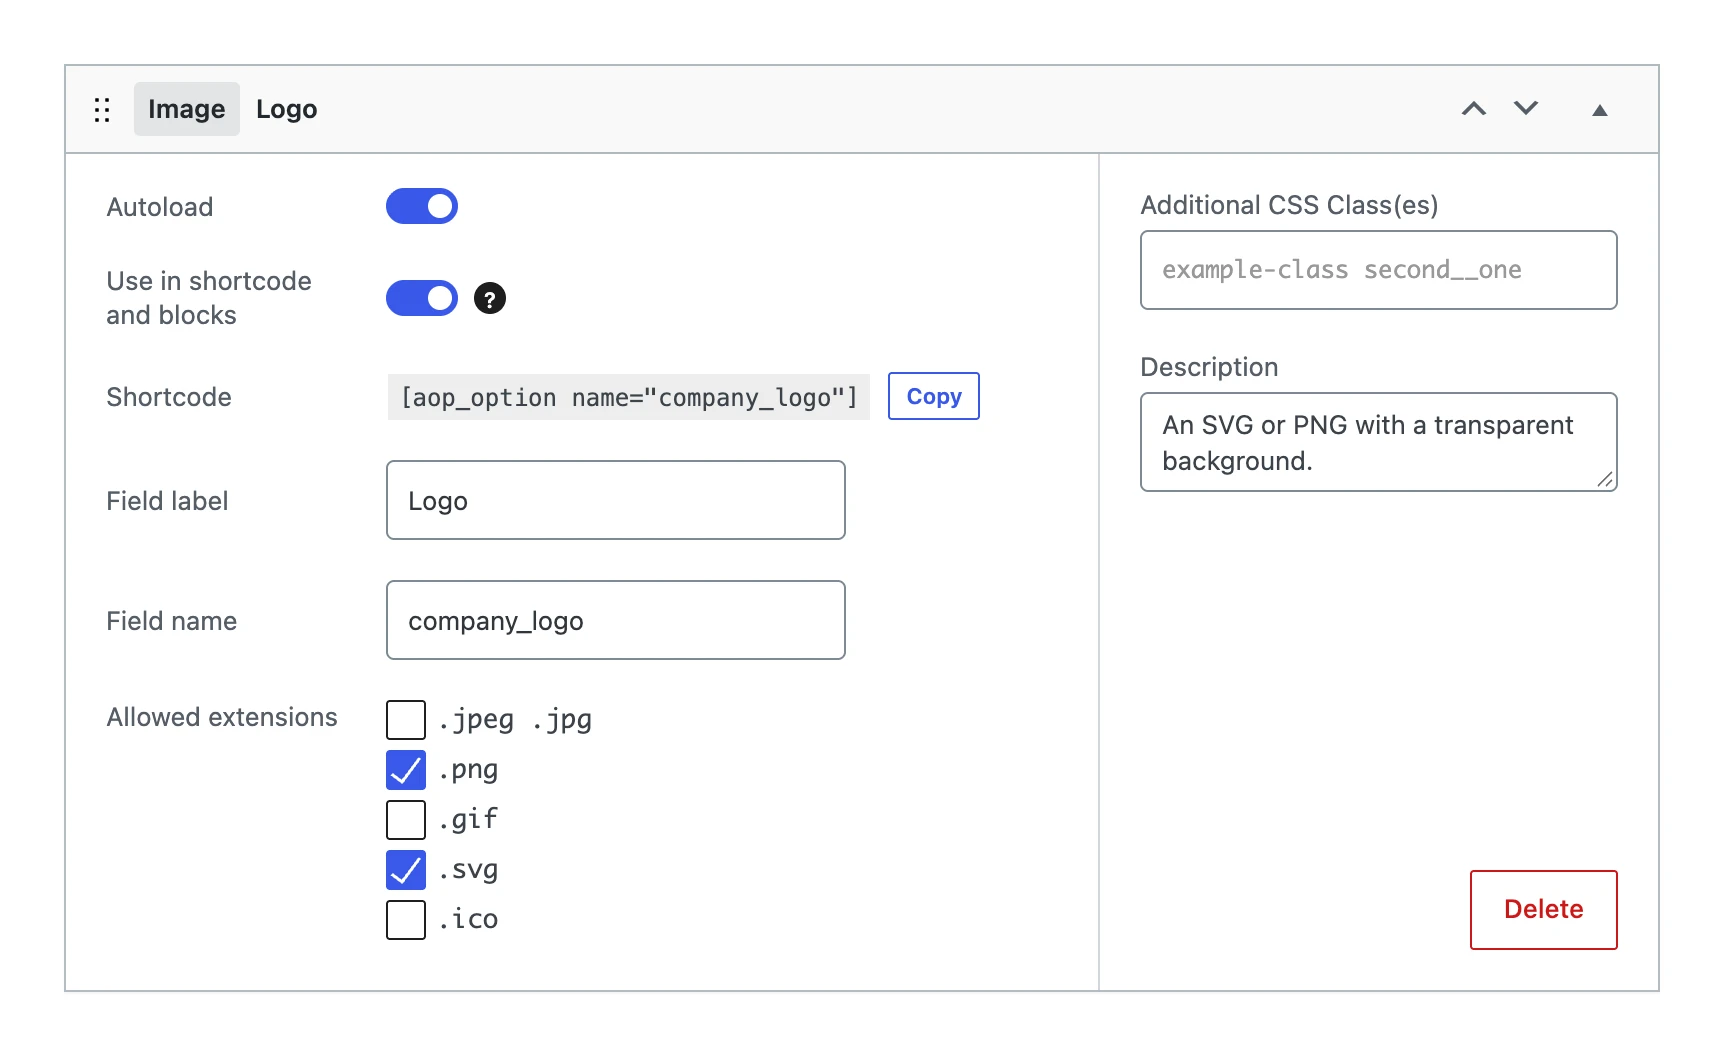
Use in shortcode and blocks is on for new fields. That is what makes it possible to show the values on your website later. The card shows the shortcode of the field as soon as it has a field name.
4. Save
Click Save at the top right. The editor checks everything; when something is wrong, such as a field name that is already in use, the field is marked and nothing is saved.
Your menu Theme settings now appears in the admin sidebar.
5. Fill in the values
Go to Theme settings → General. This is a normal WordPress settings page. Type the company name, click Upload to choose a logo from the media library, and click Save Changes.
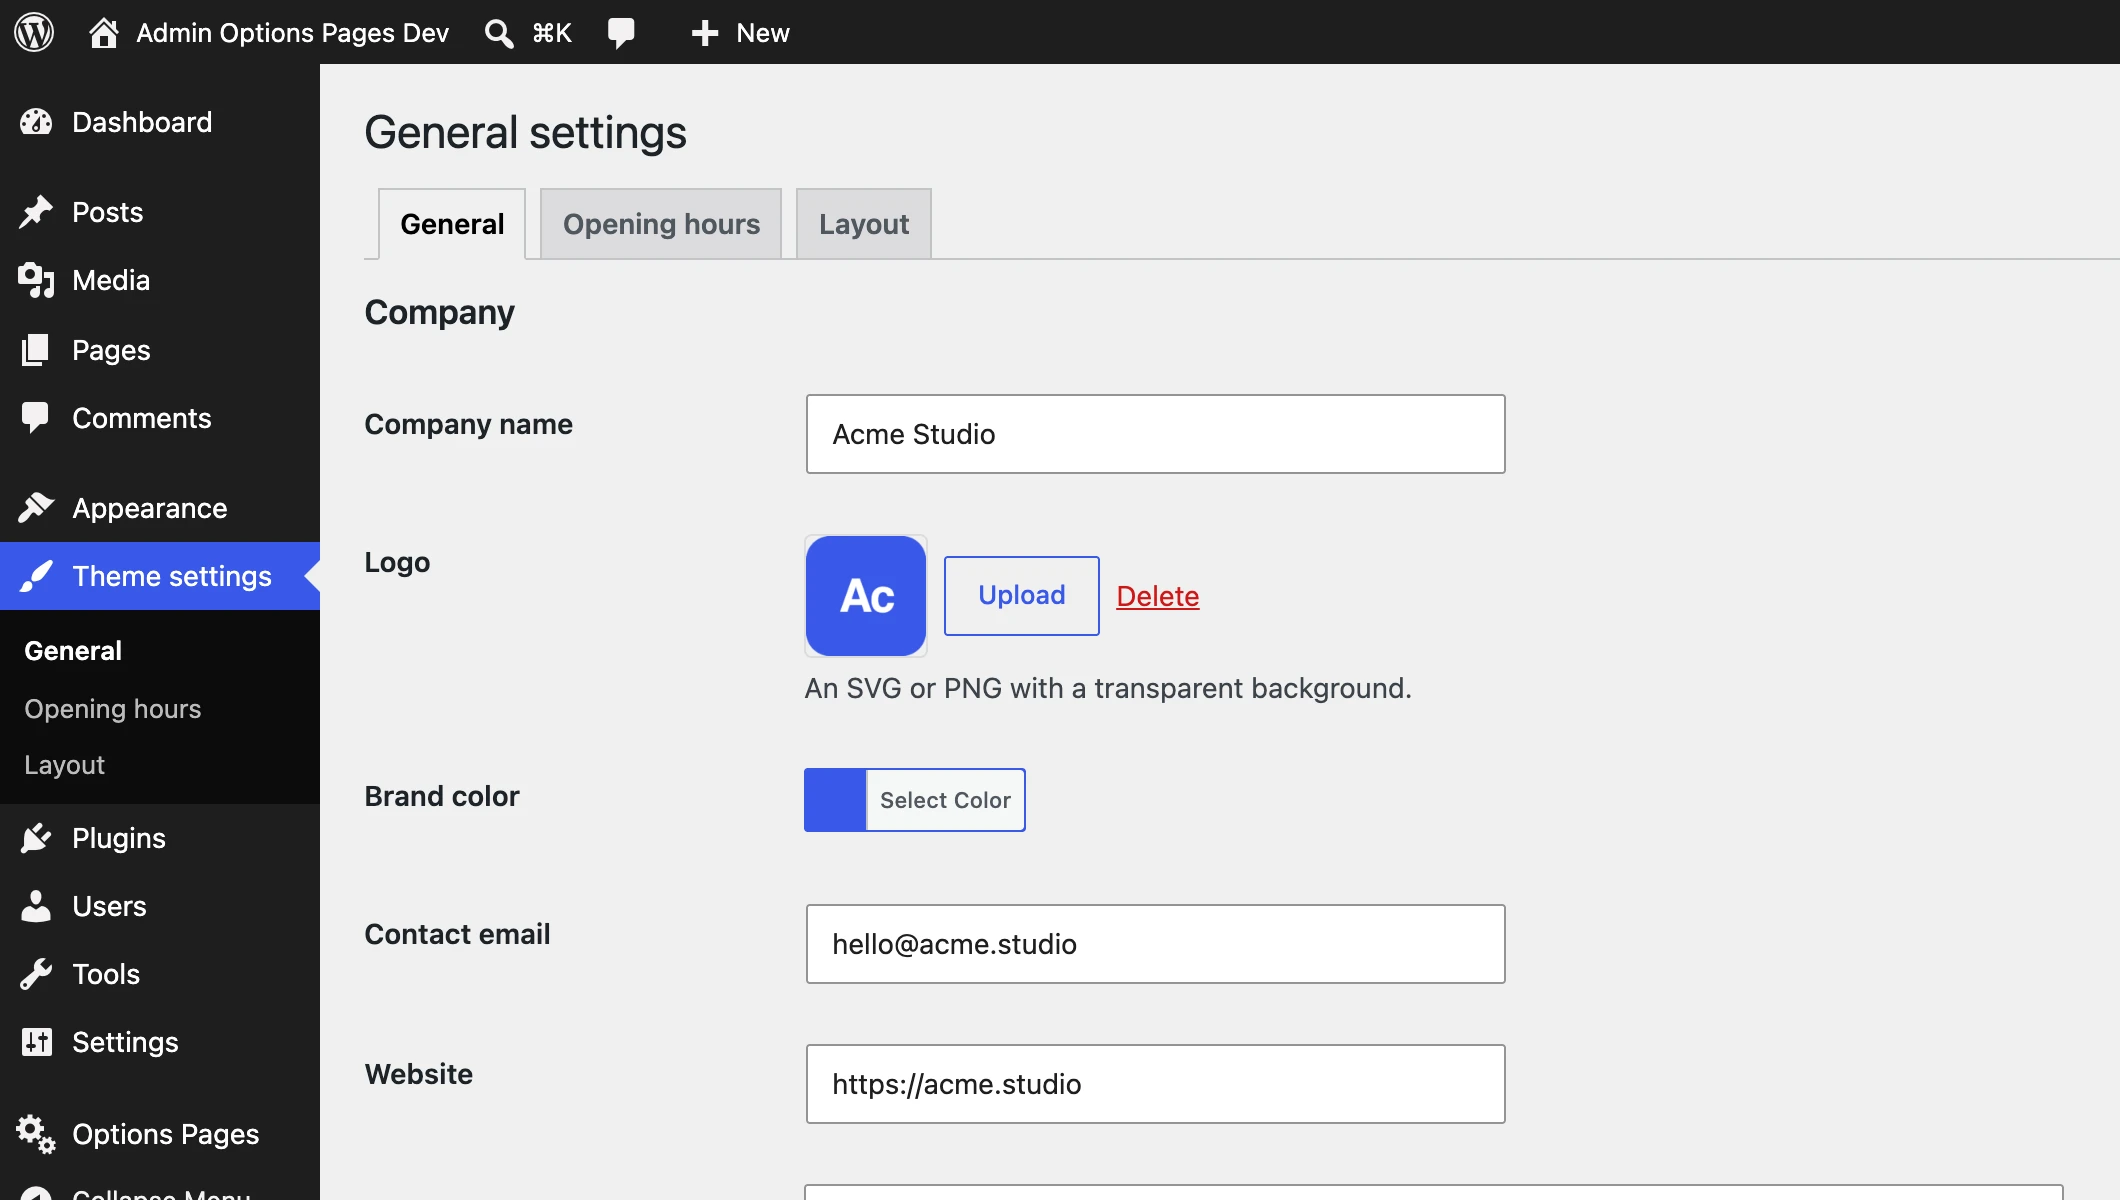
The values are now stored as the WordPress options company_name and company_logo.
6. Show the values on your website
There are three ways. Choose what suits you; you can use them side by side.
In a page or post, with a shortcode
Open a page in the block editor and type the shortcode where the name should appear, for example in a paragraph:
Welcome to [aop_option name="company_name"].
On the website this shows Welcome to Acme Studio. For the logo, the shortcode shows the image; size chooses the image size:
[aop_option name="company_logo" size="medium"]
In a block, with Block Bindings
A block can take its content from a field. Change the value on the options page, and every bound block shows the new value.
- Add a Paragraph block and select it.
- Open the Attributes panel in the block settings.
- Choose the attribute content, then Admin Options Pages and Company name (company_name).
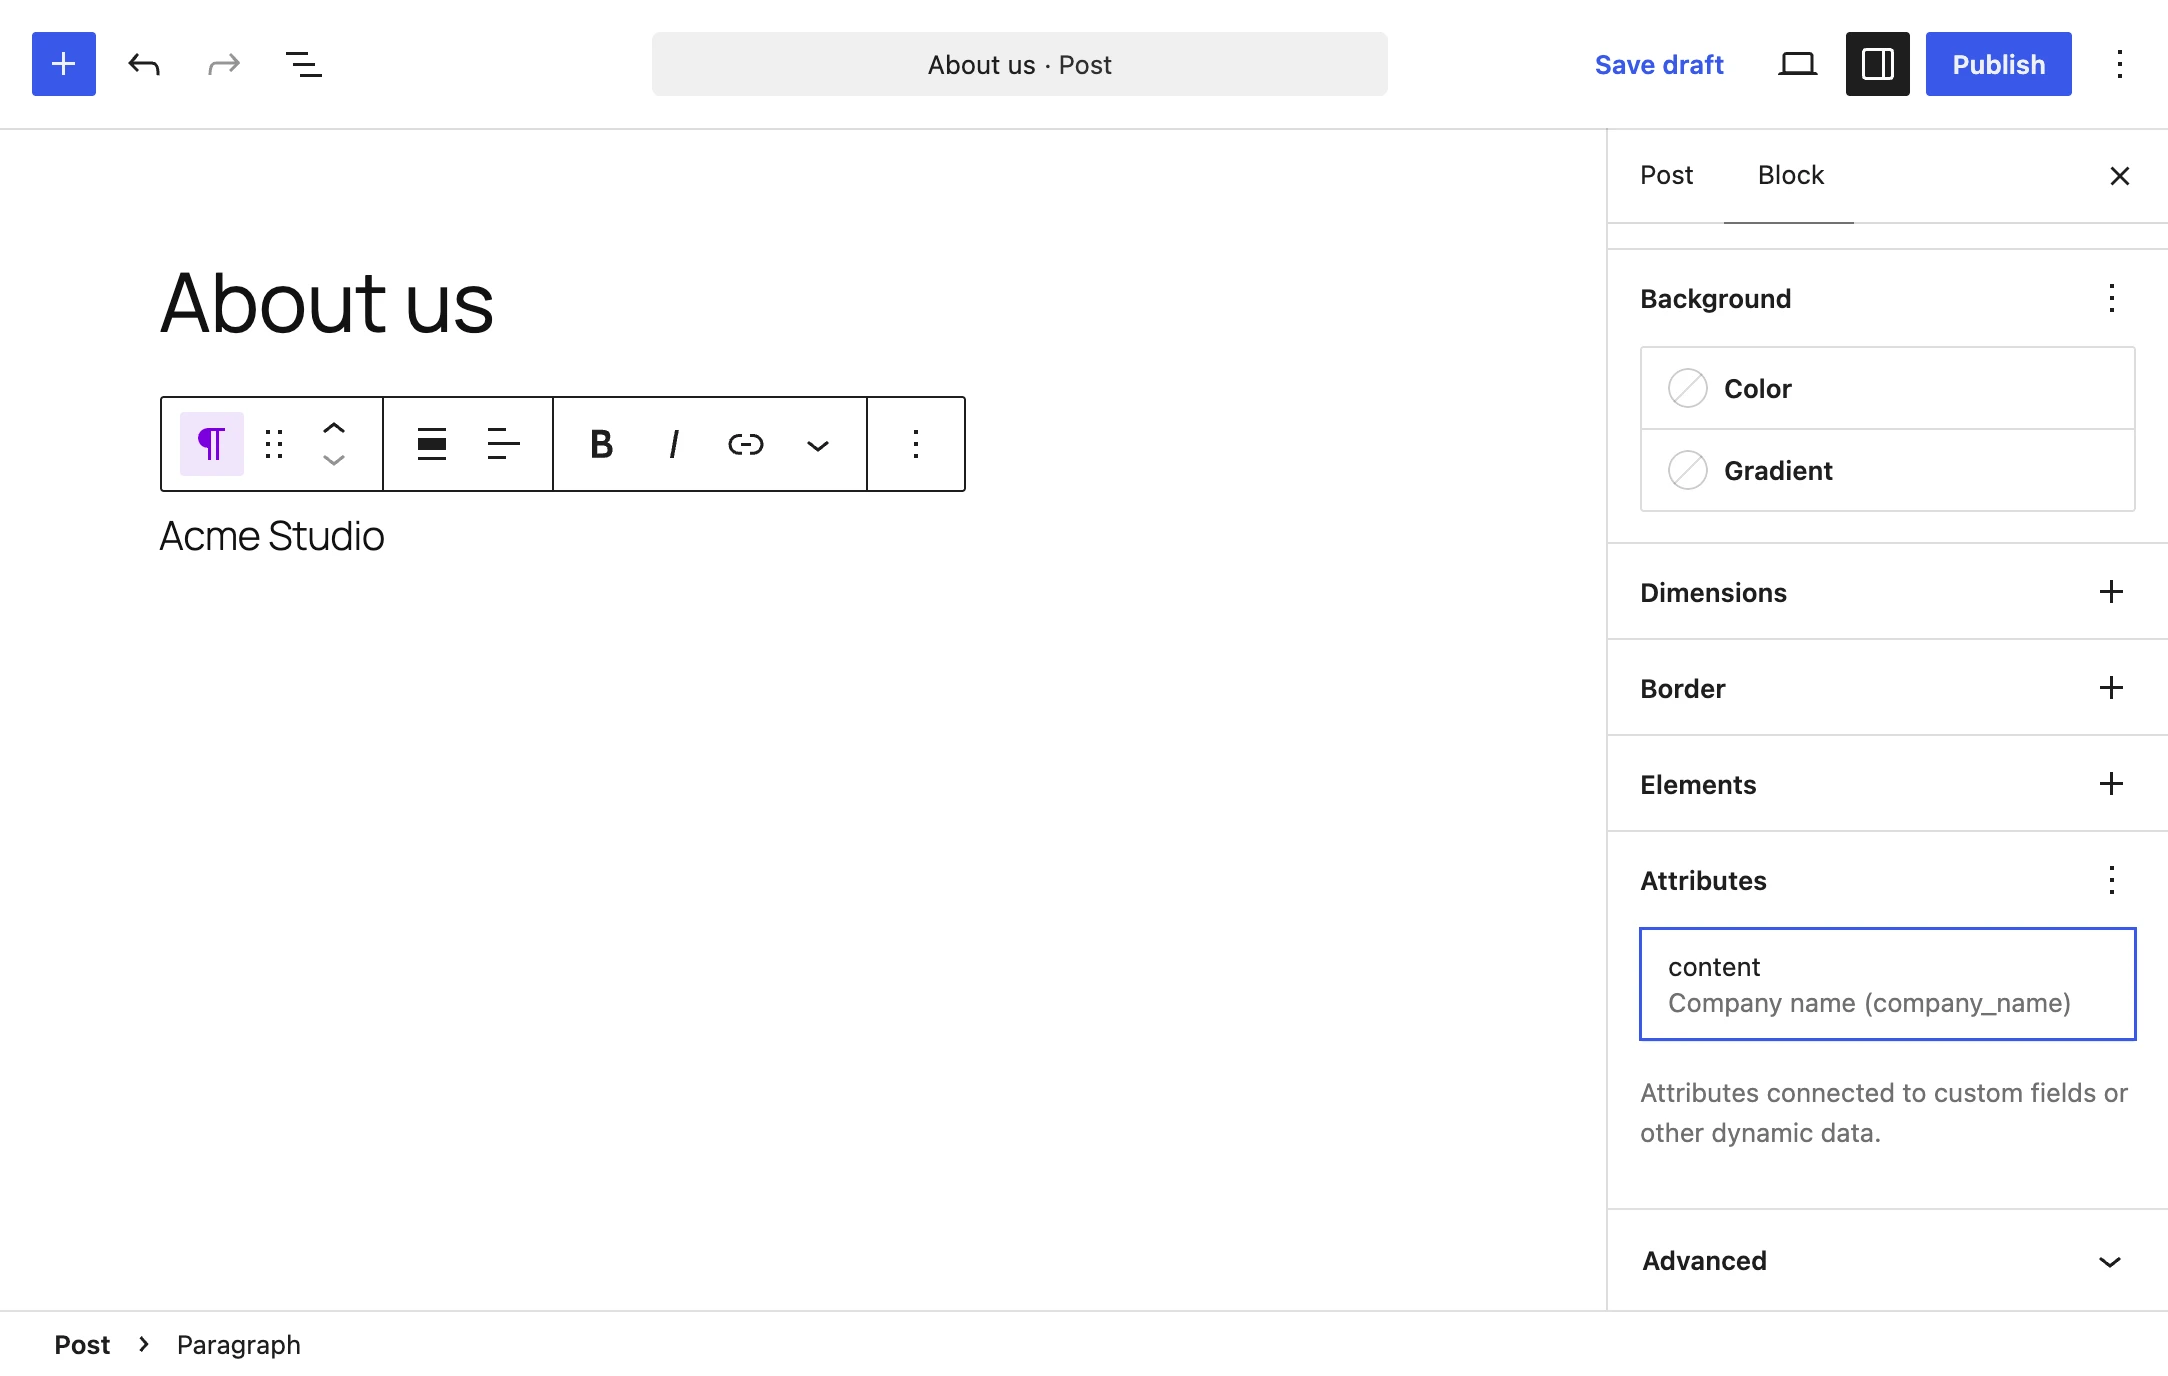
An Image block can be bound to the logo in the same way.
In your theme, with PHP
The values are normal WordPress options, so get_option() reads them anywhere in a theme or plugin. For example in header.php:
<a class="site-logo" href="<?php echo esc_url( home_url( '/' ) ); ?>">
    <?php echo wp_get_attachment_image( get_option( 'company_logo' ), 'medium' ); ?>
    <span><?php echo esc_html( get_option( 'company_name' ) ); ?></span>
</a>
The image field stores the ID of the image, so wp_get_attachment_image() turns it into an <img> tag.
Next steps
- See all field types, from email addresses to date pickers.
- Read more about the shortcode and Block Bindings, or about using values in PHP.
- Move your setup to another site with import and export.
Good to know
Edit or delete a menu
Options Pages → All Options Pages lists every menu you made. From there you can edit a menu or delete it. In the editor, saving an existing menu is done with Update.
Deleting a menu also deletes the options of all its fields, with their values. A field you remove in the editor is deleted, together with its option, when you save.
Order of pages and fields
Drag pages and fields by their handle to change the order, or move them with the arrow buttons.
Fields of a type that is not available
A field can have a type that comes from another plugin, a custom field type. When that plugin is not active, the field shows This field type is not available in the editor. The field and its value are kept. To get rid of it, click Delete on its card and save.
The Edit page button
An options page shows an Edit page button to administrators, which opens the page in the editor. To hide it, switch on Hide "Edit page" button in Options Pages → Settings.